Video has become the most powerful medium for sharing your church's message, connecting with your congregation, and reaching new people in your community. For busy volunteers and small church teams, however, the idea of video editing can feel overwhelming. Where do you even start? This guide is designed to demystify the process by breaking it down into simple, actionable steps.
We will provide essential video editing tips for beginners, specifically tailored for the unique needs of churches. Our goal is to help you transform service recordings and event footage into polished, impactful social media content. Whether you are creating an AI-generated reel from your sermon for Instagram or an inspiring testimony for Facebook, mastering these foundational skills will build your confidence and help your ministry’s message shine online.
Throughout this guide, we'll also explore how modern tools can dramatically simplify your workflow. For instance, platforms like ChurchSocial.ai can automatically generate reels from your sermons, create social posts from the sermon transcript, and help you design graphics, turning a complex task into a manageable part of your ministry outreach. Let’s dive into the core techniques that will elevate your church's video presence.
1. Master the Fundamentals: Cutting and Trimming
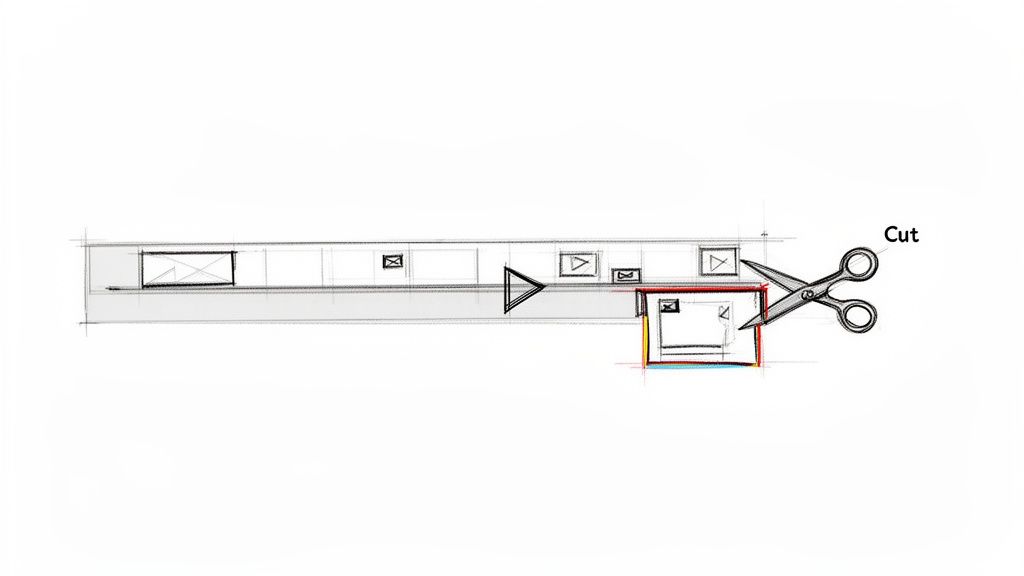
Before you can create compelling sermon clips or engaging worship highlights, you must master the most fundamental skill in video editing: cutting and trimming. This process involves strategically removing unwanted portions of your footage to enhance clarity, improve pacing, and keep your audience focused on the message. For a church, this means transforming a full-length service into a polished, shareable asset.
Cutting is the act of splitting a video clip, while trimming is the process of shortening the beginning or end of a clip. The goal is to remove distractions like long pauses, coughs, false starts, or technical glitches that can pull a viewer out of the moment. By cleaning up these imperfections, you honor both the message and the viewer's time, creating a more professional and impactful final product.
Actionable Tips for Clean Cuts
To make this foundational step efficient, follow a few key practices that seasoned editors use.
- Learn Keyboard Shortcuts: The fastest way to speed up your workflow is by using keyboard shortcuts for cutting (often the 'C' or 'B' key) and trimming. This is one of the most valuable video editing tips for beginners as it builds muscle memory.
- Work Non-Destructively: Always duplicate your main footage or timeline before you start cutting. This preserves the original recording, allowing you to revert to it if you make a mistake.
- Cut on Pauses: For seamless edits, make your cuts during natural pauses in speech or at the end of musical phrases. This makes the transition feel invisible to the viewer.
- Trim Aggressively: A good rule of thumb is to aim to trim 10-15% of the total length. Removing filler words like "um" and "uh" or tightening the gap between sentences dramatically improves the video's energy and flow. Once you've mastered fundamental cuts, learning how to efficiently and accurately seamlessly merge clips is the next step to creating polished videos.
Using the right tools can make this process even easier. While many great software options exist, finding one that fits your workflow is key. To get started, you can explore some of the best video editing software for beginners and find a program that suits your church's needs.
2. Use Smooth Transitions Strategically
Once you've mastered cuts, the next step is connecting your clips. Transitions are visual effects that bridge one clip to another, creating a smooth journey for the viewer. Instead of jarring jumps, transitions like fades and dissolves guide the audience's attention and establish a professional, intentional editing style. For a church, the right transition can significantly enhance storytelling in sermon highlights, testimony videos, or worship montages.
Properly used, transitions support the narrative without becoming a distraction. A simple fade-to-black can signify a shift in topic during a sermon, while a gentle dissolve can blend moments of worship together, creating a feeling of spiritual continuity. The goal is to make the edit feel seamless and natural, allowing the message to remain the central focus. This is one of the most effective video editing tips for beginners for elevating production quality.
Actionable Tips for Effective Transitions
To ensure your transitions enhance your video rather than detract from it, follow these guidelines used by professional editors.
- Maintain Consistency: Choose one or two primary transition styles (like a cross dissolve or a simple fade) and use them consistently throughout a single video. This creates a cohesive and branded feel.
- Keep it Subtle: Avoid overly flashy or distracting transitions like star wipes or page peels unless they serve a specific, creative purpose for youth content. Most of the time, subtlety is more professional.
- Time it Right: A standard transition duration of about 0.2 to 0.4 seconds (200-400 milliseconds) often works best. This is long enough to be smooth but short enough not to slow down the video's pace.
- Match the Mood: Use transitions to support the emotional tone. A quick cut adds energy and excitement, perfect for event recaps. A slow dissolve fosters a more contemplative and reflective mood, ideal for prayer moments.
By using transitions strategically, you guide the viewer's experience and reinforce your message. When you use a tool like ChurchSocial.ai to generate AI sermon reels, it automatically applies clean, professional transitions, taking the guesswork out of the process. This allows your team to create engaging clips effortlessly, ready for your social media calendar.
3. Optimize Audio Quality First
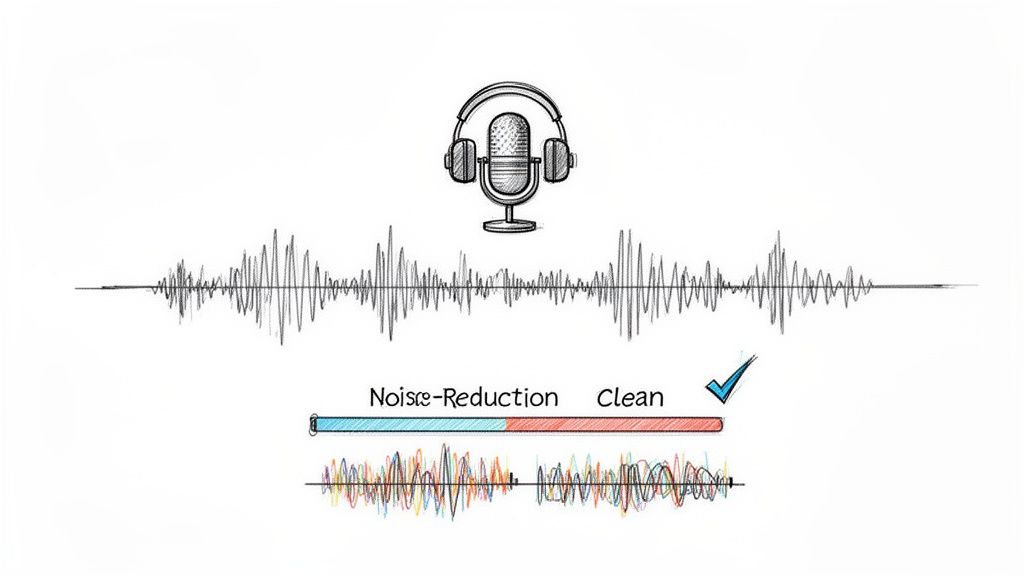
Viewers will forgive grainy visuals, but they will not tolerate poor audio. This is one of the most critical video editing tips for beginners because sound is over half the experience. For a church, the clarity of a sermon, testimony, or worship song is paramount to delivering the intended message. If your audience cannot hear or understand the words being spoken, the video has failed its primary purpose.
Optimizing audio involves more than just adjusting volume. It means managing levels, reducing distracting background noise like an AC hum, and balancing multiple sources, such as a pastor's microphone against background music. Ensuring the spoken word is crisp and clear makes your content accessible and professional, holding the viewer's attention from beginning to end.
Actionable Tips for Clean Audio
Getting clear audio is a skill that can be developed with practice. Focus on these key techniques to immediately improve your sound quality.
- Prioritize the Message: In any church video, the spoken word (sermon, testimony, announcement) is the most important element. Always mix the background music or ambient sounds to be significantly lower than the primary speaker.
- Wear Headphones: Edit your audio while wearing headphones, not using computer speakers. Headphones reveal subtle imperfections like pops, clicks, or background hums that are easily missed otherwise.
- Set Correct Levels: Aim for your audio peaks to hit between -6dB and -3dB on the audio meter. This level is loud and clear without "clipping" or distorting, which happens when the audio hits 0dB.
- Use Fades: Apply short (1-2 second) audio fades at the beginning and end of your clips. This simple trick creates a smooth transition and eliminates abrupt, jarring pops that can occur when audio starts or stops suddenly.
Mastering these audio basics ensures your message is heard clearly and effectively. For an even more streamlined workflow, tools like ChurchSocial.ai can transform your sermon recordings into AI-generated Reels and social posts. By uploading a single sermon, the platform handles the audio processing and content creation, allowing you to focus on managing your church's social media presence with its simple drag-and-drop calendar.
4. Create Visual Interest with B-Roll and Graphics
A static shot of a speaker, no matter how engaging, can struggle to hold an audience's attention online. This is where B-roll and graphics become essential tools. B-roll is supplemental footage that adds context and visual variety, while graphics are text overlays and animations that highlight key information. For a church, using these elements means transforming a simple sermon recording into a dynamic, visually engaging piece of content that reinforces your message.
The goal is to break up visual monotony and give viewers more to connect with. For example, layering footage of your congregation worshiping over a pastor's audio clip can evoke emotion and a sense of community. Similarly, a well-placed graphic with a key Bible verse helps the scripture resonate and stick with the viewer long after they've scrolled past. This is one of the most effective video editing tips for beginners because it immediately elevates production value.
Actionable Tips for Effective Visuals
Integrating B-roll and graphics smoothly requires a strategic approach. Follow these practices to enhance your videos without creating distractions.
- Build a B-Roll Library: Make a habit of capturing footage during every service, event, and outreach activity. Film shots of the worship team, congregation members interacting, volunteers serving, and details of your church building. Having this library ready will save you immense time in editing.
- Keep Graphics Readable: Ensure text overlays are large enough to be read easily on a small mobile screen. Use your church's branded fonts and colors for consistency and a professional look.
- Use Subtle Overlays: When showing a speaker, you can layer B-roll on top with a reduced opacity (around 50-70%). This allows the viewer to still see the speaker while the B-roll adds visual context, creating a layered and sophisticated effect.
- Short and Sweet Clips: Keep B-roll clips short, typically 3-5 seconds each. This maintains a good pace and keeps the video feeling dynamic rather than letting a shot linger for too long.
Creating professional graphics doesn't have to be complicated. With ChurchSocial.ai, you can use our graphic templates and editor to create and post photos and carousels that match your brand. To dive deeper into creating compelling visuals, you can learn more about effective church graphic design and apply those principles to your videos.
5. Master Color Correction and Grading
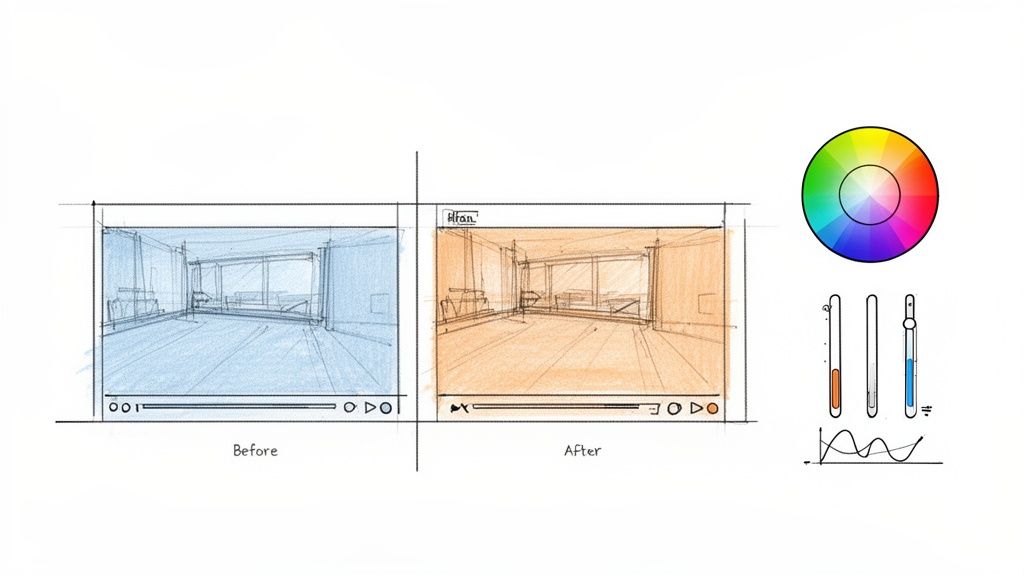
Once your cuts are clean and your story is taking shape, the next step to elevate your video from amateur to professional is mastering color. This involves two distinct but related processes: color correction and color grading. Color correction is the technical process of fixing issues and making your footage look natural, while color grading is the creative process of applying an aesthetic style to evoke a specific mood or feeling.
For a church, this means ensuring that a pastor's skin tone looks consistent across different camera angles or that footage from various services feels cohesive. Color correction creates a balanced, true-to-life canvas. Then, color grading can add warmth to an inspiring testimony or a cool, contemplative feel to a prayer segment, deepening the emotional impact of the message. This is one of the more advanced video editing tips for beginners, but even subtle adjustments can make a significant difference.
Actionable Tips for Effective Color
To make your footage look its best without getting overwhelmed, focus on these foundational practices.
- Correct Before You Grade: Always start by correcting the basics. Adjust exposure to fix footage that's too dark or bright, set the white balance so that white objects appear pure white, and balance saturation to make colors look natural, not muted or cartoonish.
- Use Adjustment Layers: To maintain consistency, apply color effects to an adjustment layer placed above your clips on the timeline. This applies the same correction and grade to every clip underneath it, saving you from having to adjust each one individually.
- Save Presets for Consistency: If you develop a color grade that perfectly matches your church's branding or the feel of a specific sermon series, save it as a preset or LUT (Look-Up Table). This allows you to quickly apply that same look to future videos, creating a recognizable and professional brand identity.
- Start with Subtle Changes: When you're just starting, avoid drastic adjustments. Make small changes to settings like temperature, tint, and contrast. Often, a slight tweak is all that is needed to enhance the footage without it looking over-processed.
6. Sync Audio and Video Precisely
Few things disrupt a viewer's experience more than audio and video that are out of sync. When a pastor's words don't match their lip movements or a worship song's beat is disconnected from the visuals, the content feels unprofessional and distracting. Proper audio-video synchronization is a non-negotiable step that maintains credibility and keeps your congregation immersed in the moment.
For a church, this is critical in sermon clips where the speaker is on screen, worship videos featuring musicians, or any multi-camera production. The goal is to perfectly align the sound captured from microphones with the corresponding video footage, creating a seamless and natural viewing experience. Getting this right ensures the focus remains on the powerful message being delivered, not on technical errors.
Actionable Tips for Perfect Sync
Achieving precise synchronization requires attention to detail, but a few key techniques can make it much more manageable.
- Create a Visual Cue: Before recording, have someone clap their hands on camera. This sharp sound and clear visual action create an easy-to-spot spike in both the audio waveform and the video timeline, giving you a perfect reference point to align your clips.
- Trust the Waveform: Make the audio waveform visible in your editing timeline. You can visually match up the peaks and valleys of different audio tracks, especially spoken words or drum hits, for incredibly precise alignment.
- Zoom In for Accuracy: Don't be afraid to zoom way in on your timeline. Aligning clips down to the sub-frame level is often necessary for perfect lip sync. A tiny, one-frame offset can be surprisingly noticeable to viewers.
- Let Your Ears Be the Judge: Often, your ears can detect sync issues that your eyes might miss. Put on a pair of headphones and play back critical sections to confirm that everything sounds natural and perfectly timed.
For churches looking to streamline this process, especially when creating sermon clips, tools with built-in automation are invaluable. The AI Reel Creator within ChurchSocial.ai automatically handles audio and video synchronization, allowing you to produce perfectly aligned, engaging reels and shorts without the manual effort. This lets you focus more on the message and less on the technical minutiae.
7. Harness the Power of Pacing and Timing
Beyond clean cuts and smooth transitions, the rhythm and speed of your edits, known as pacing, dictate the emotional impact of your video. Strategic pacing keeps your content dynamic and ensures the viewer feels the intended emotion, whether it's the high energy of a youth event or the quiet reflection of a prayer moment. For churches, mastering this can mean the difference between a viewer scrolling past and one who truly connects with the message.
Pacing is controlled by how long each shot is held and how quickly you move to the next. A fast-paced sermon highlight reel with quick cuts synced to upbeat music can build excitement and retain attention on social media. In contrast, a worship or testimony video benefits from slower, more meditative timing with longer takes, giving the audience space to absorb the moment's gravity and meaning. This is one of the most powerful video editing tips for beginners because it directly influences viewer engagement.
Actionable Tips for Effective Pacing
To control the rhythm of your videos and guide your audience's experience, implement these core practices.
- Match Pacing to the Message: The content should always dictate the pace. A welcome video for new members should feel warm and inviting with gentle pacing, while a recap of a mission trip can use rapid cuts to convey action and excitement.
- Vary Your Cut Length: A constant, predictable rhythm can become monotonous. Mix longer shots (4+ seconds) that establish context with shorter, quicker cuts (1-2 seconds) that emphasize key phrases or actions.
- Cut to the Beat: For videos with background music, aligning your cuts with the beat of the music creates a subconscious sense of satisfaction and professionalism. This is especially effective for announcement videos and event promos.
- Hold for Impact: Don’t be afraid to hold a shot on a meaningful moment or an impactful statement slightly longer than feels natural. This gives viewers the necessary time to process what they are seeing and hearing, deepening its impact.
Understanding how to control the tempo of your videos is a key step in creating more sophisticated content. You can explore more foundational techniques in our guide to easy video editing for beginners to build on these skills.
8. Leverage Templates and Workflow Automation for Speed
For a busy church volunteer, time is the most valuable resource. Instead of starting every video from scratch, leveraging templates and automation tools can drastically reduce editing time while maintaining a professional and consistent look across all your content. This approach involves creating or using pre-designed assets like title cards, lower thirds, and transitions that you can quickly apply to new projects.
Templates are your repeatable blueprints for success. When you establish a set of branded graphics and presets, you remove the guesswork and decision-making from the editing process. This not only speeds up your workflow but also reinforces your church’s visual identity. Automation takes this a step further, using smart tools to handle repetitive tasks, allowing you to focus on the creative aspects of your ministry’s message.
Actionable Tips for Faster Workflows
To make templates and automation a core part of your strategy, here are a few practical steps.
- Build a Template Library: Invest time upfront to create a robust library of templates for your most common video types, like sermon clips, event announcements, and testimonies. Include branded title cards, lower-third graphics for speaker names, and outro screens with your church’s website and service times.
- Embrace AI-Powered Tools: Platforms like ChurchSocial.ai are designed to automate the most time-consuming parts of content creation. Use it to automatically generate shareable reels from a full-length sermon, completely bypassing hours of manual editing.
- Standardize Your Brand Elements: Create presets for your church’s specific fonts, colors, and logos within your editing software. This ensures every video aligns with your brand guidelines without needing to manually set them each time.
- Document and Share: Create a simple guide that explains how to use the templates. This empowers other volunteers to create on-brand content consistently, even if they are new to video editing. This is one of the most powerful video editing tips for beginners because it enables team collaboration and scalability.
Side-by-Side: 8 Beginner Video Editing Tips
Empower Your Ministry with Smarter Social Media Management
You’ve just navigated a comprehensive guide to foundational video editing, from mastering simple cuts and strategic transitions to the critical importance of clean audio and compelling B-roll. We've covered the nuances of color correction, the art of pacing, and the efficiency of using templates. Embracing these video editing tips for beginners is the first major step toward transforming your church’s online presence from a simple bulletin board into a dynamic, engaging digital ministry.
Think of each skill not as an isolated task, but as a tool in your storytelling toolkit. A well-paced sermon clip isn't just content; it's a moment of reflection and encouragement that can reach someone scrolling through their feed at just the right time. Clean audio ensures the message is heard clearly, without distraction, while thoughtful B-roll provides visual context that helps viewers connect emotionally with the sermon's theme. These are not just technical improvements; they are enhancements to your ministry's ability to communicate hope and build community online.
From Learning to Action: Your Next Steps
The journey from understanding these concepts to implementing them consistently can feel daunting, especially with limited time and resources. The key is to start small and build momentum. Here’s how you can take immediate action:
- Focus on One Skill at a Time: Don't try to master everything at once. This week, focus solely on improving the audio quality of one sermon clip. Next week, practice adding relevant B-roll.
- Establish a Simple Workflow: Create a checklist based on the tips in this article. Follow it for every video to build good habits and ensure consistency across all your content.
- Repurpose with Purpose: Take one full-length sermon and challenge yourself to create three distinct pieces of content from it: a one-minute Reel highlighting a key point, a five-minute clip for deeper engagement, and a graphic with a powerful quote.
Mastering video editing is crucial, but it's only one piece of a much larger puzzle. To truly maximize your reach and impact, your video content needs to be part of a cohesive digital strategy. For distributing your church videos widely, developing an effective YouTube strategy is essential, as it allows your message to live on and be discovered long after the initial post.
Amplify Your Efforts with the Right Partner
While these manual editing skills are invaluable, the most significant leap forward comes from integrating smart tools designed to handle the heavy lifting. This is precisely where ChurchSocial.ai becomes a game-changer for your ministry. It moves you beyond the technical details of editing and empowers you to focus on high-level strategy and community engagement.
Imagine uploading your sermon and letting our AI generate reels, social posts, blogs, and more from the sermon transcript. Picture creating beautiful, on-brand graphics using our templates and editor. Envision managing your entire social media with our simple drag-and-drop calendar, which integrates with Planning Center to automatically create content for your events. This is the efficiency and power that ChurchSocial.ai delivers. It's not just another software; it’s a ministry partner built to save you time, reduce volunteer burnout, and ensure your message resonates powerfully online.
Ready to reclaim your time and elevate your church's social media presence? Let ChurchSocial.ai automate the tedious work of content creation and scheduling so you can focus on what truly matters: connecting with your community. Discover how our AI-powered tools can revolutionize your workflow by visiting ChurchSocial.ai today.